What will you learn in this article:
- how to create a test
- which areas to choose
- which technologies to choose
- how to invite candidates
How to create a test
First you need to login to the administration and then go to Tests and click on "+ New test" button.
Areas
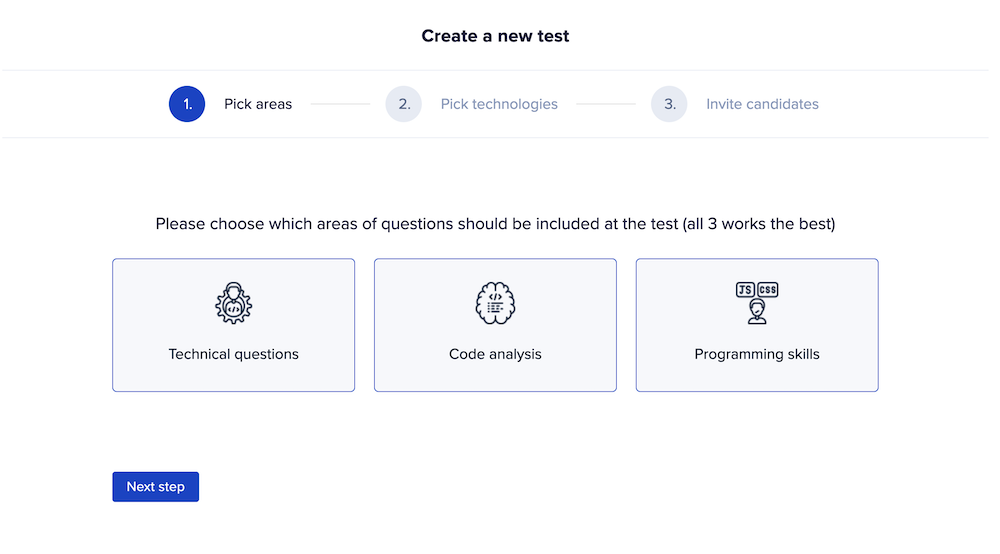
In the first step you need to choose which areas you would like to include in the tests. You can pick one, two or all of three:

If you would like to read more about areas, please visit the article: what are the areas and which technologies there.
Technologies
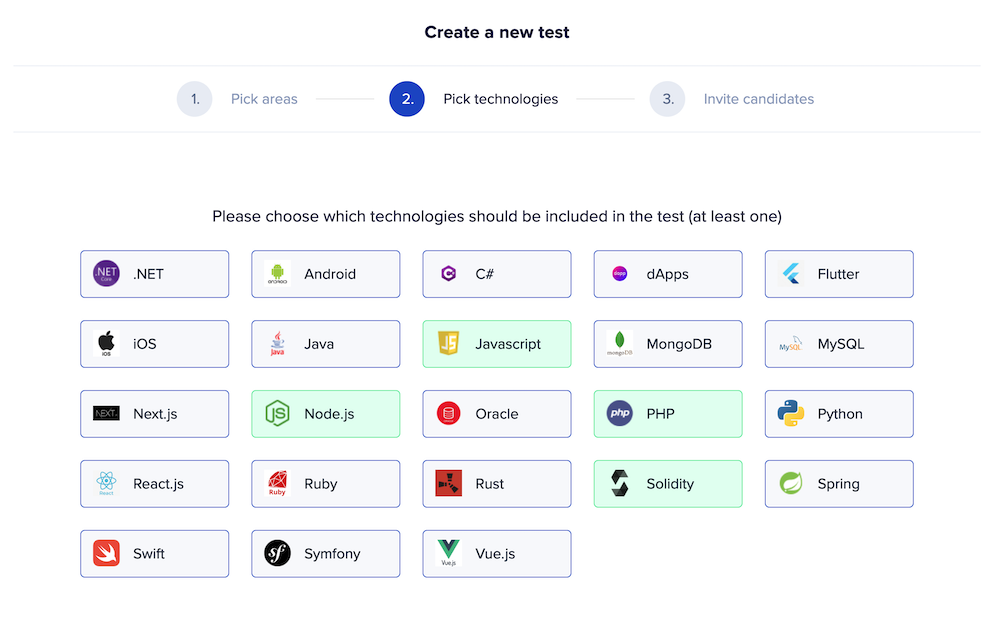
In the second step, you choose which technologies would you like to include in the test. There are approximately 25+ technologies (and growing) right now.

Inviting candidates
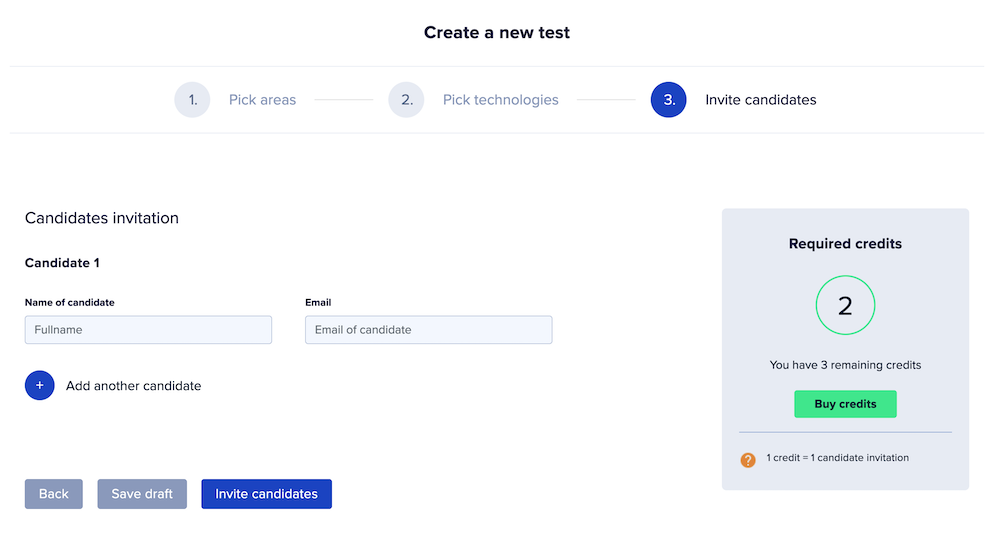
In the 3rd step you can either Save test as draft or directly invite the candidates. In order to invite candidates, you need to have Credits on your account. Within the trial, you get 3 credits for free. After using those free credits, you can buy new ones. You can read about buying credits here. To do that, just fill in the name and email of the candidate and they will automatically receive the invitation link.

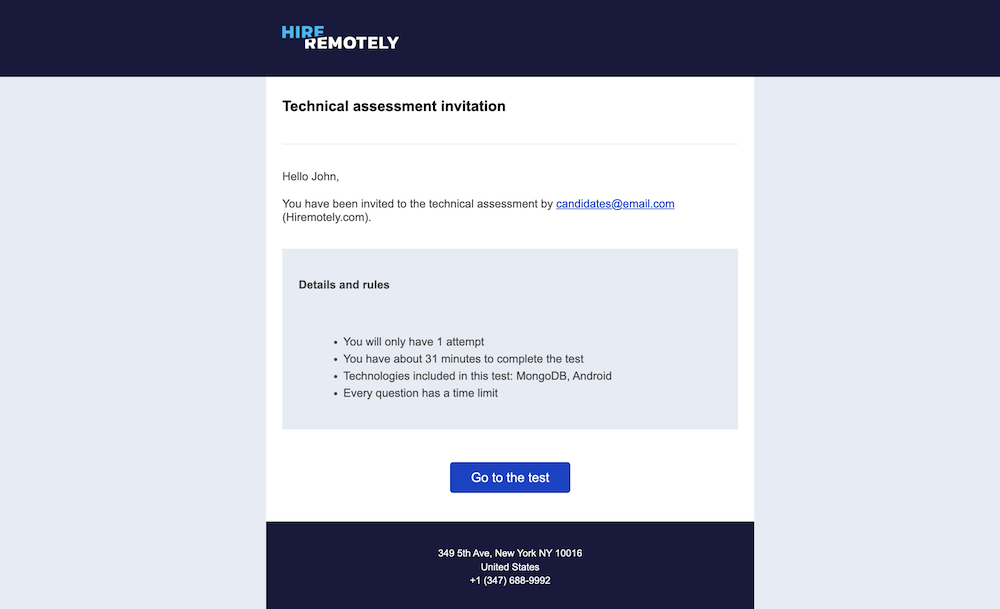
How the invitation look like?
If you are curious what kind of invitation the candidate gets to their email, please see below:

After clicking on the buttons "Save as draft" or "Invite candidtes", you can choose a name for the test. It is always better to use easy-remember, intuitive names.

And that's it, congratulations! You successfully created your first test.
Don't have an account yet?